



JETSON-ORIN-CASE-C
- Mã sản phẩm: 34964
- Nhà sản xuất: Waveshare
- Website hỗ trợ: https://www.proe.vn
1.690.000₫
Weight: 1.02 kg
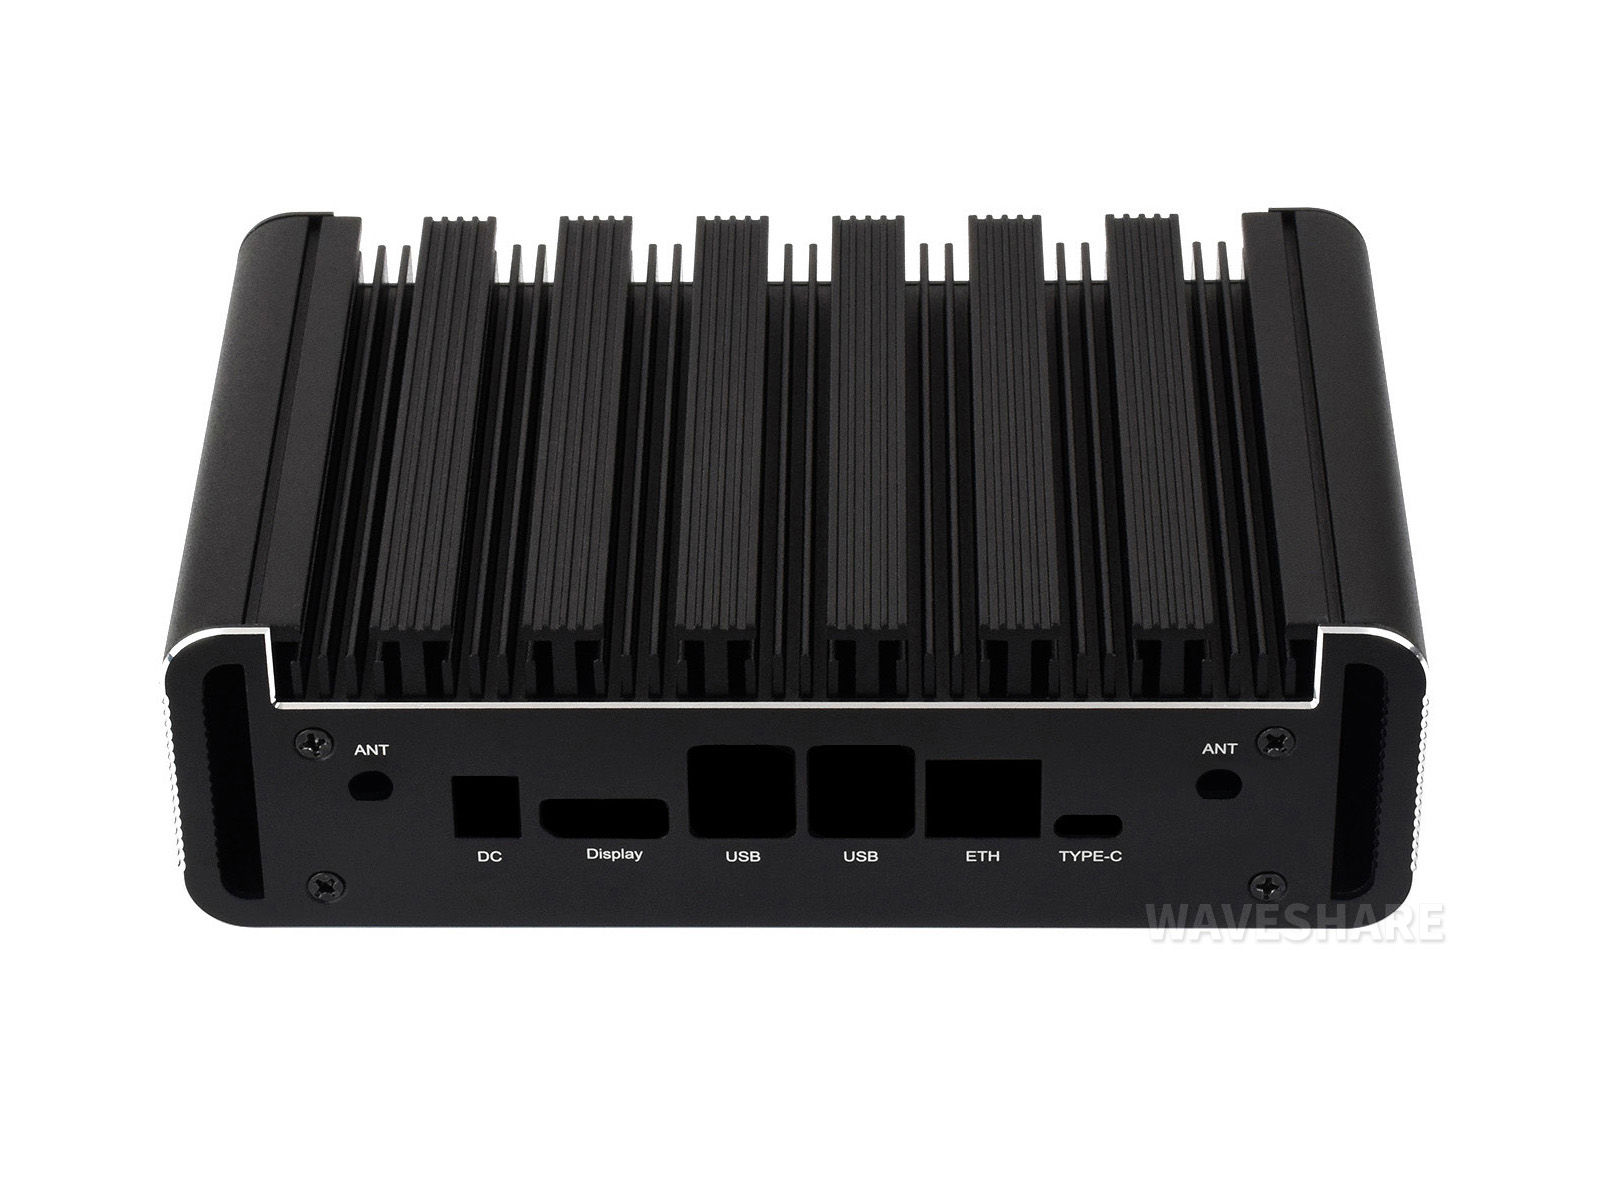
- JETSON-ORIN-CASE-C Aluminum alloy case x1
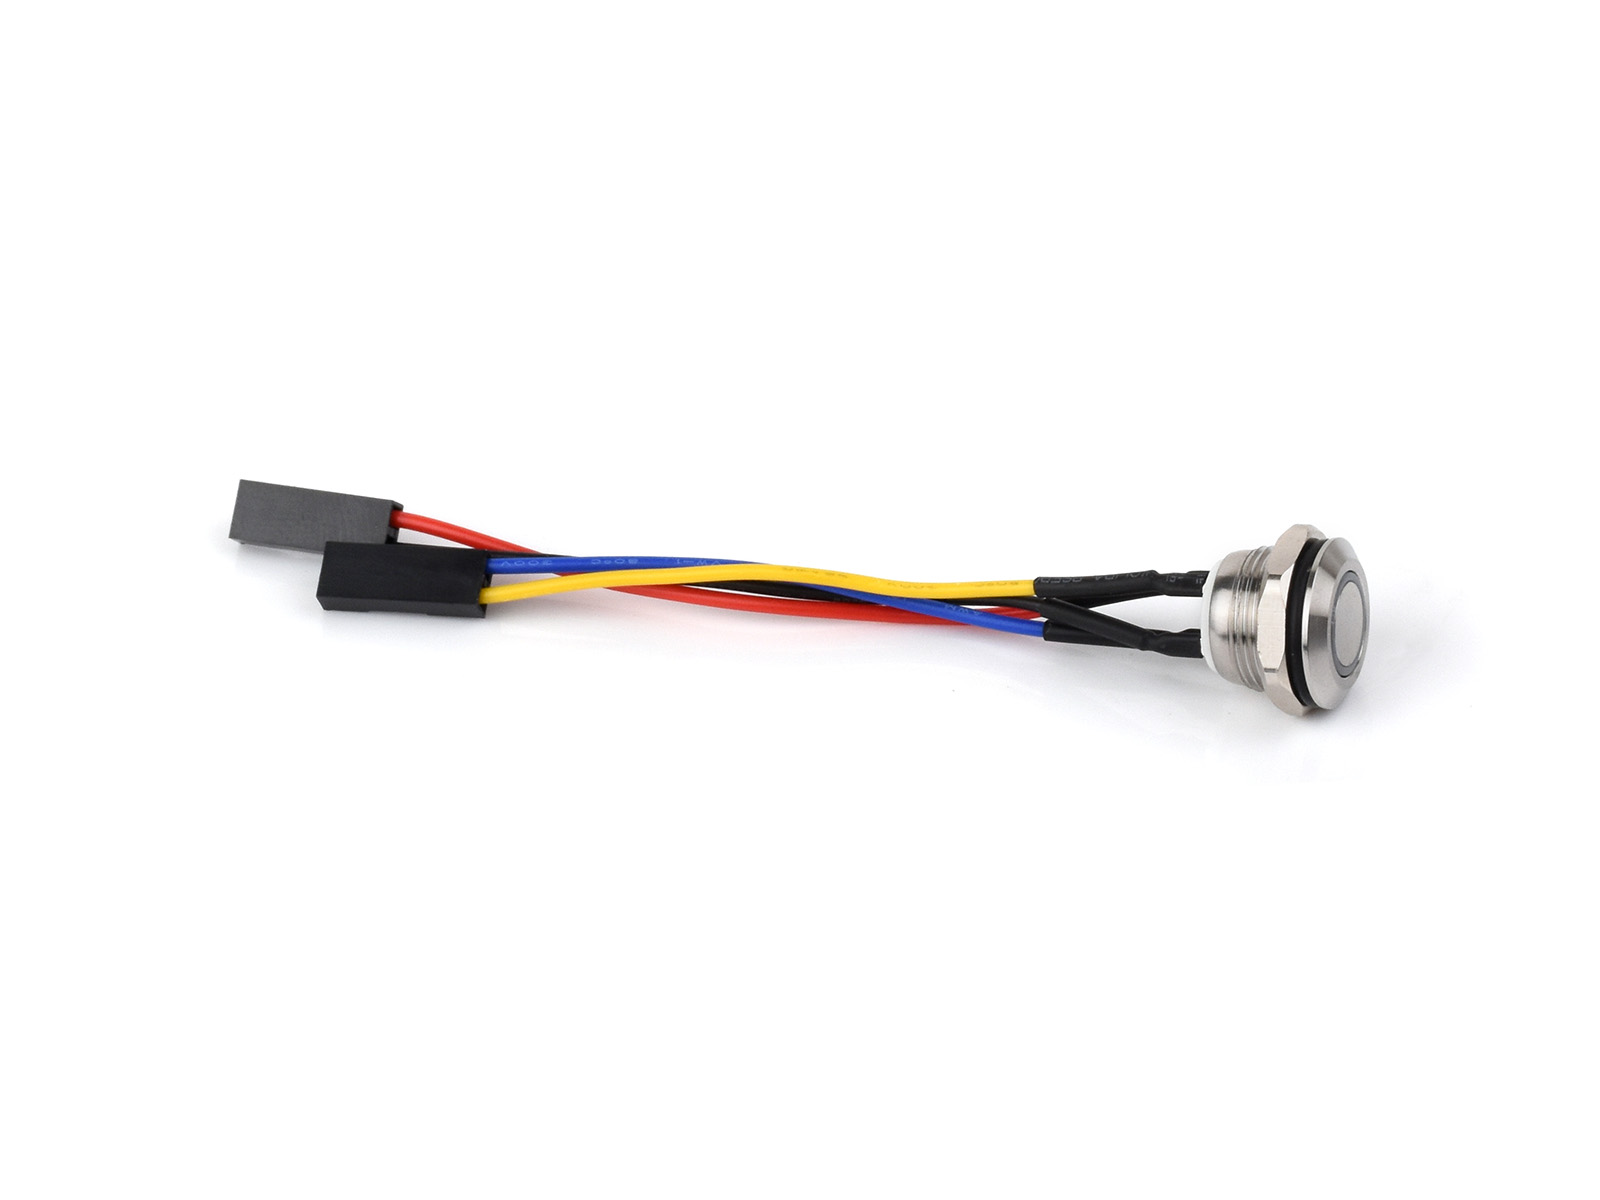
- Button with wires x1
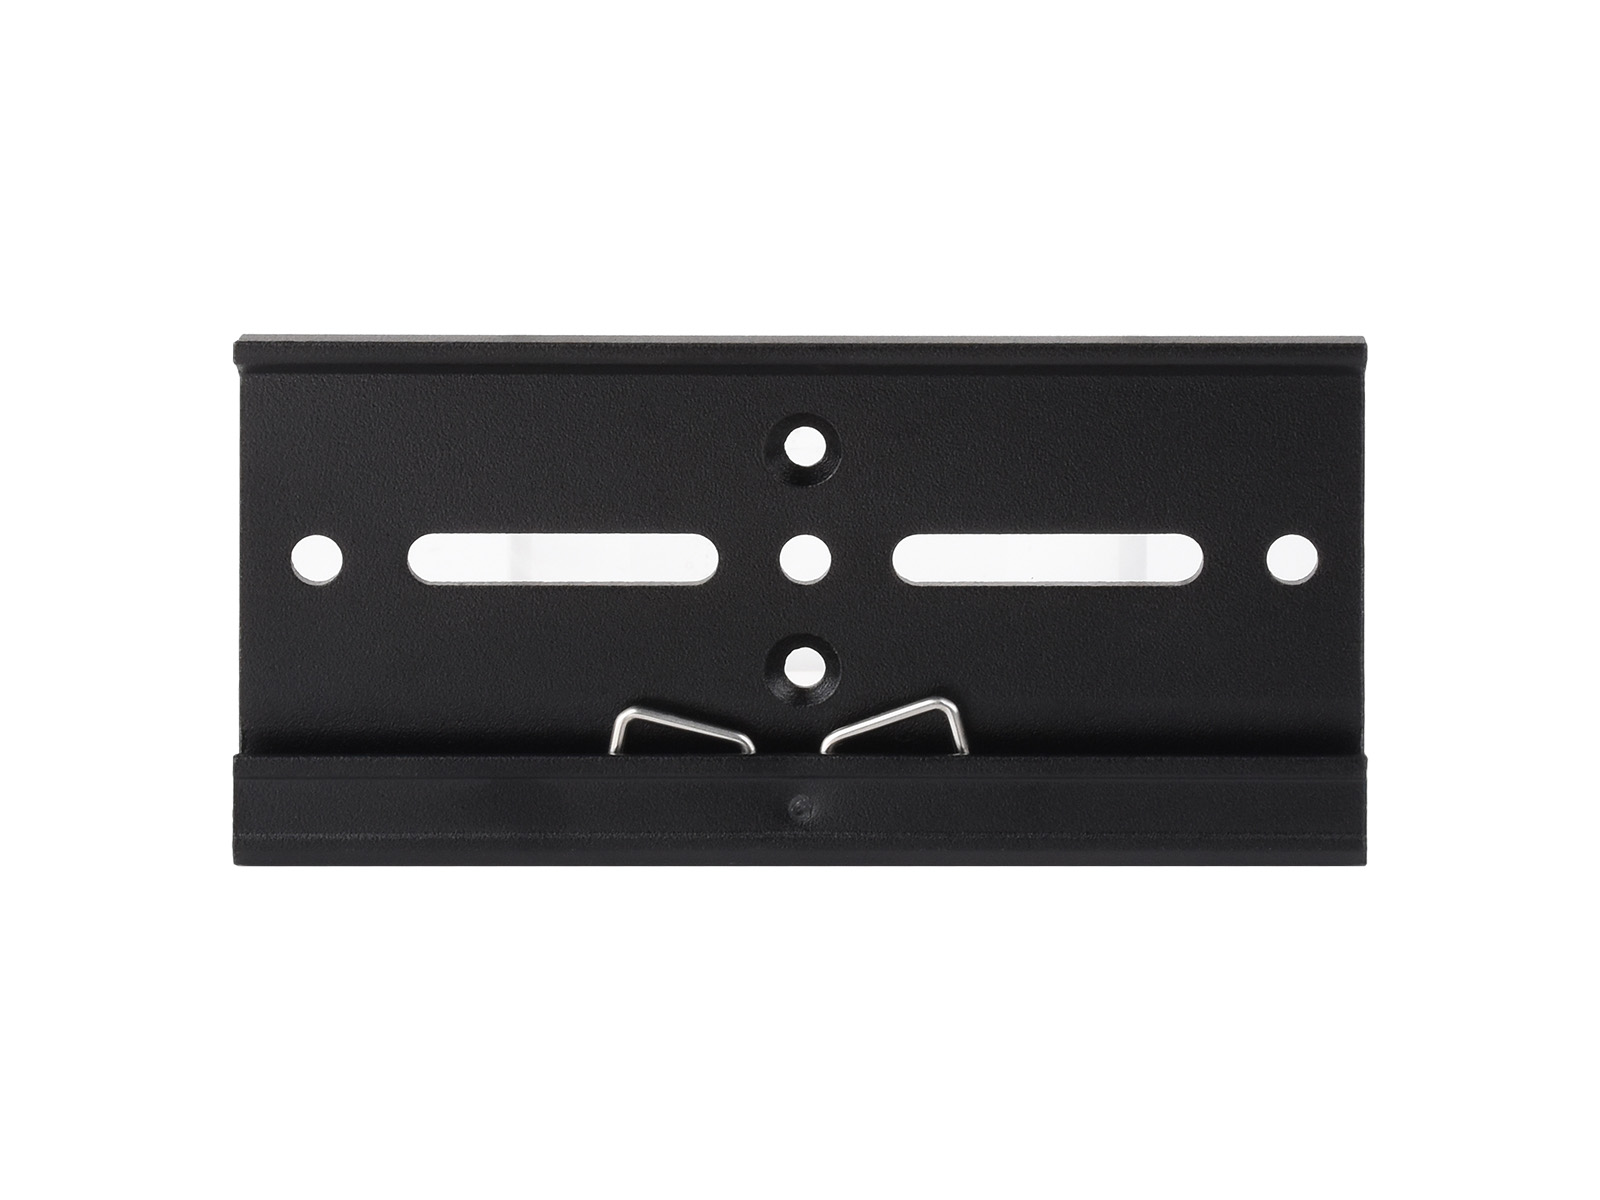
- Rail-mount buckle x1
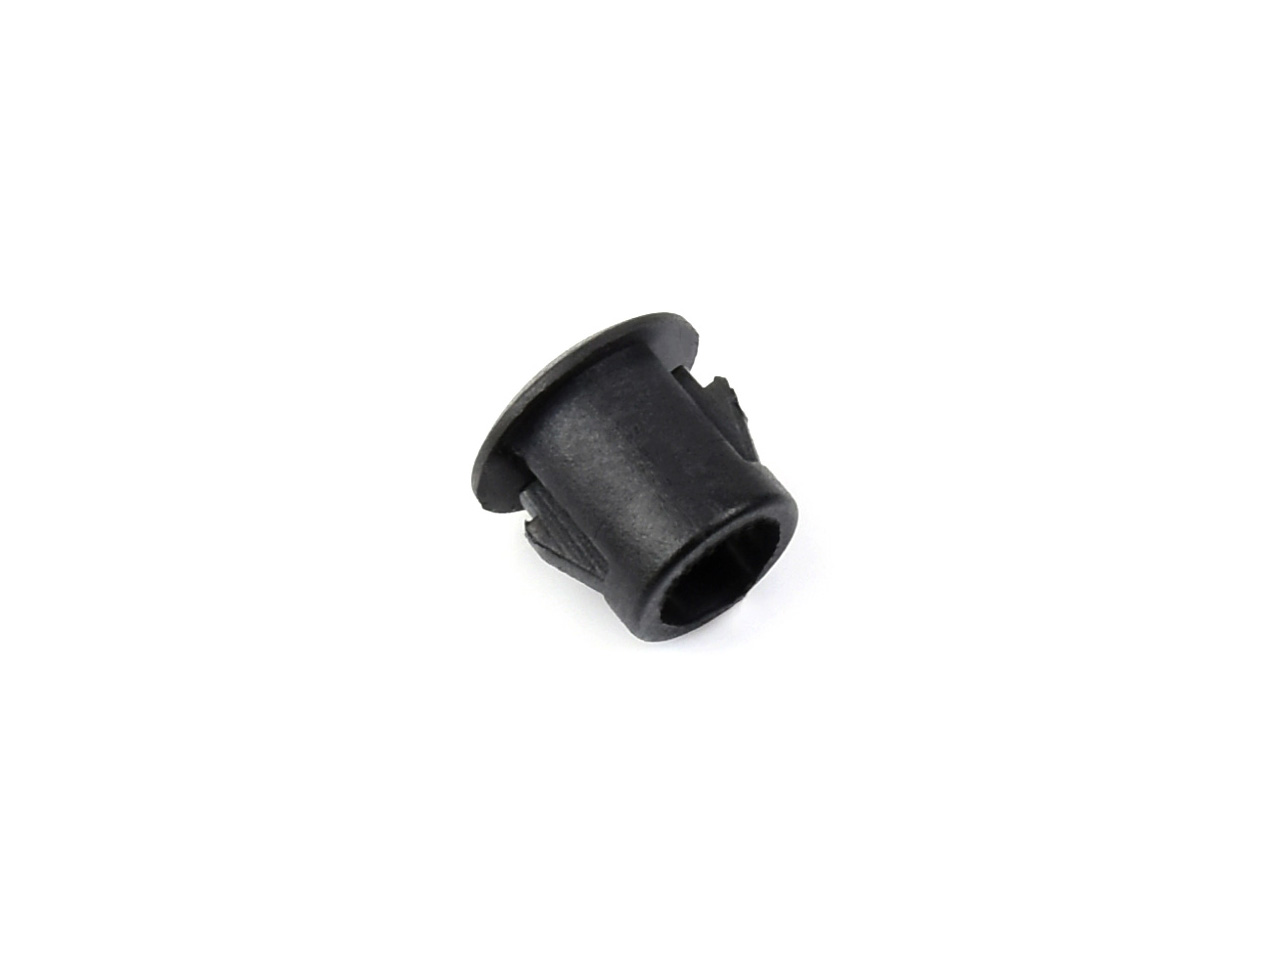
- Antenna rubber plug x2
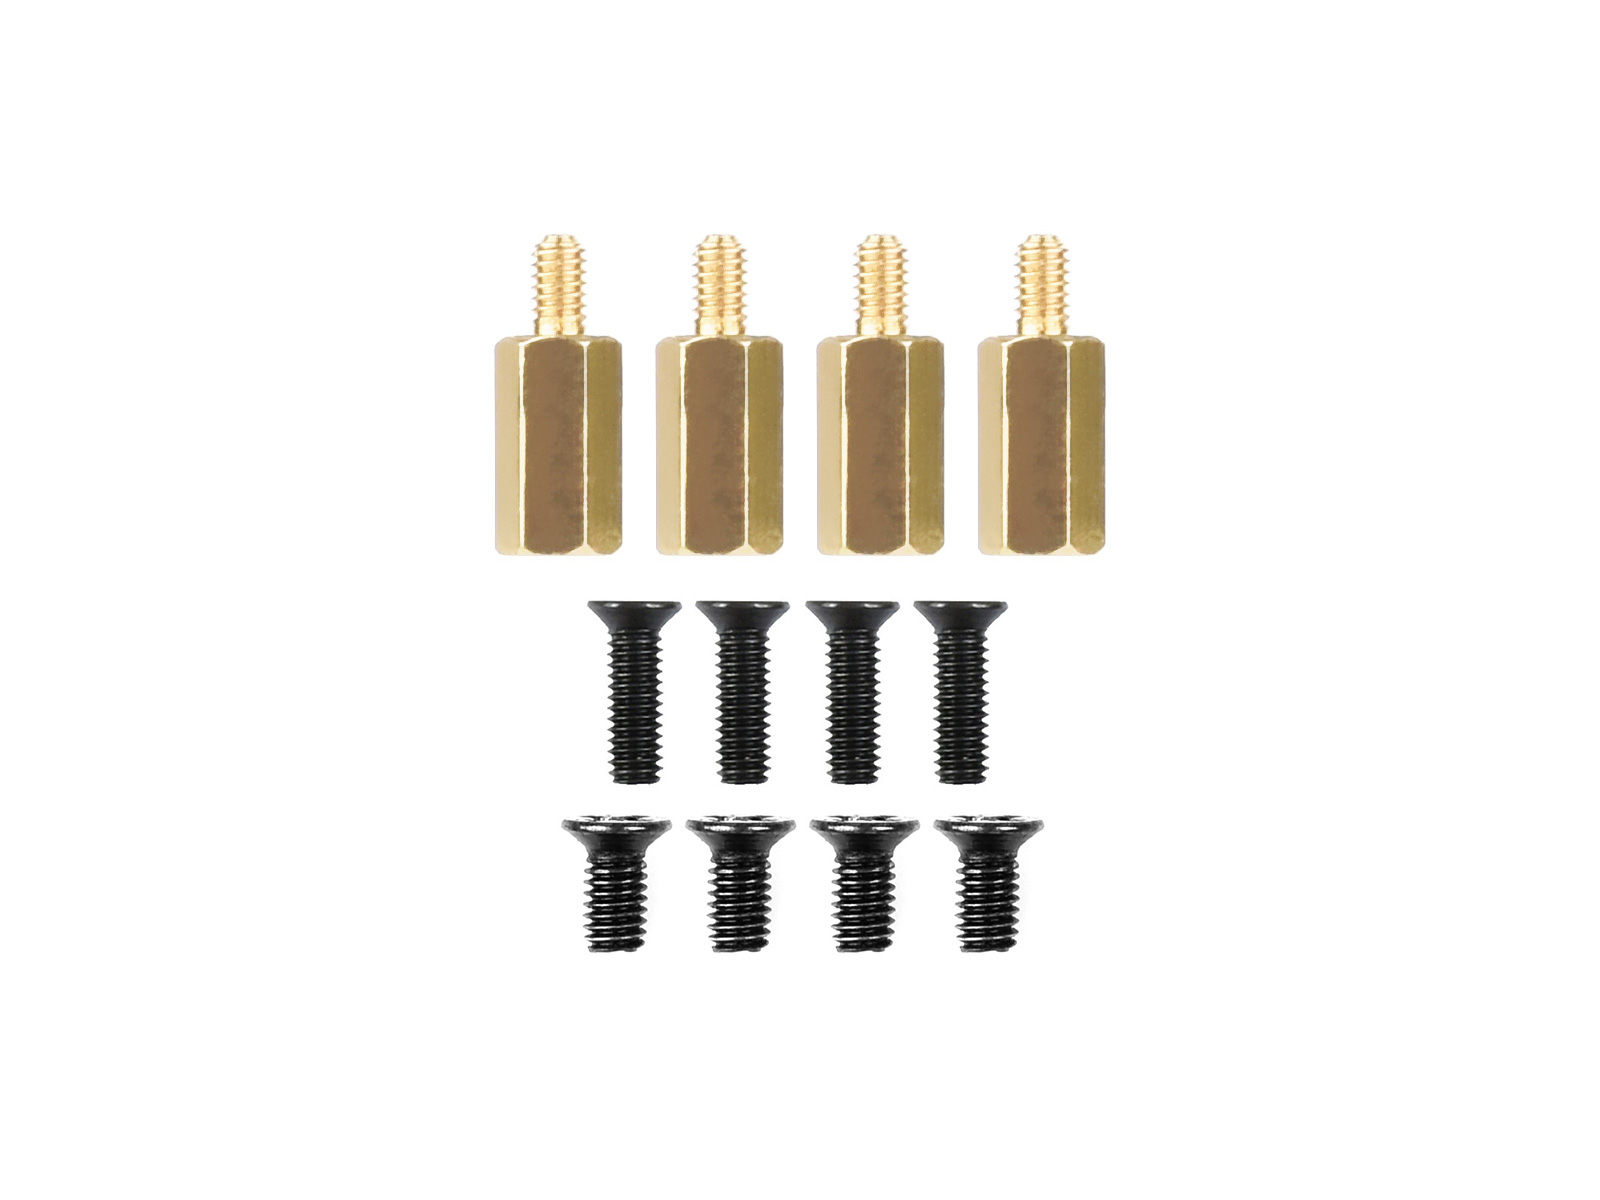
- Screws pack x1
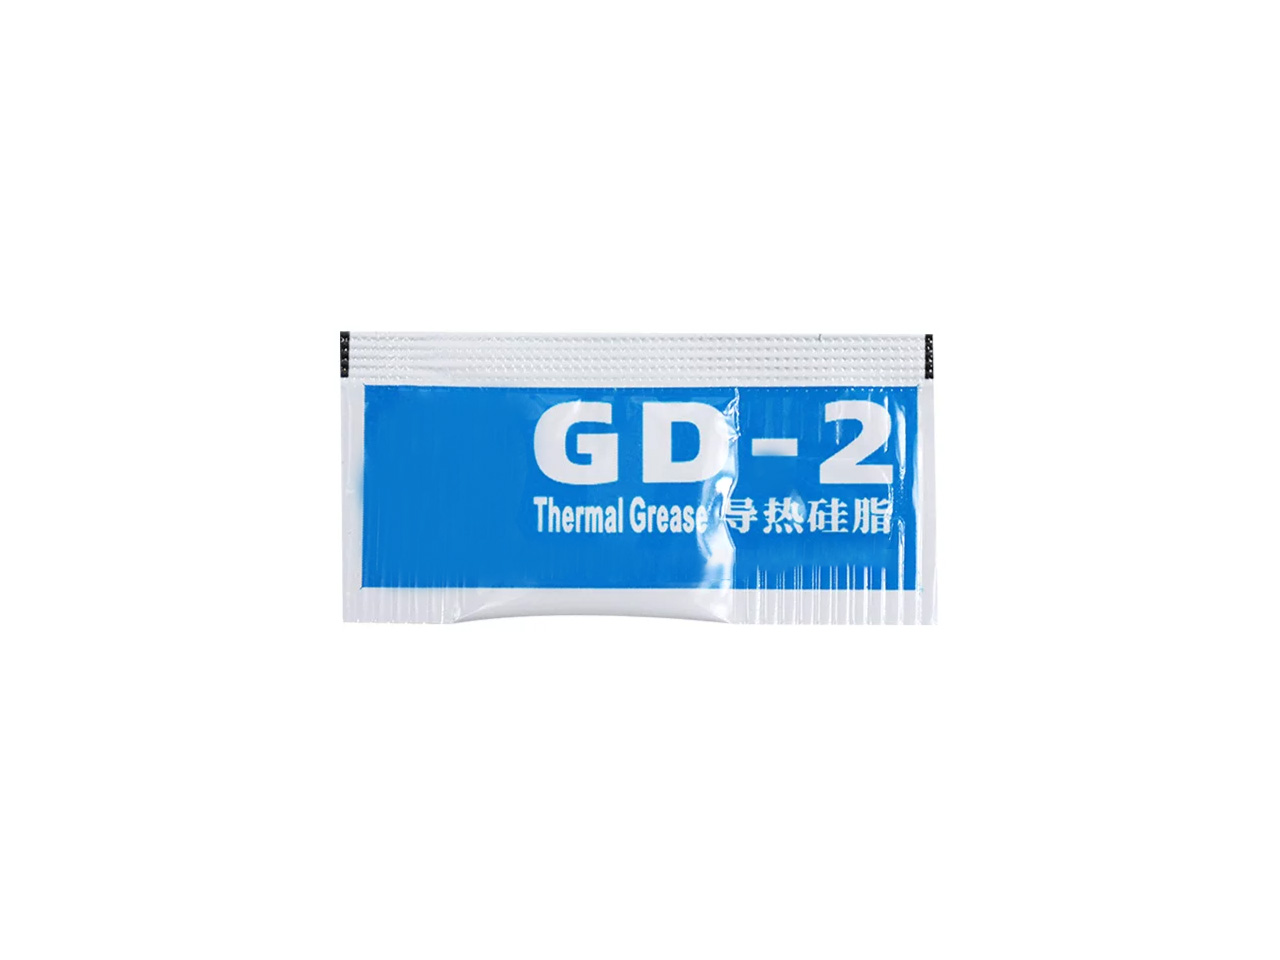
- Thermal grease x1
1 
2 
3 
4 
5 
6 
Aluminum Alloy Passive Cooling Case For Jetson Orin, Onboard Power Button With Indicator, Suitable For Jetson Orin Nano And Jetson Orin NX Kits
Aluminum Alloy passive cooling case
for Jetson Orin
for Jetson Orin
Suitable For Jetson Orin Nano And Jetson Orin NX Kits
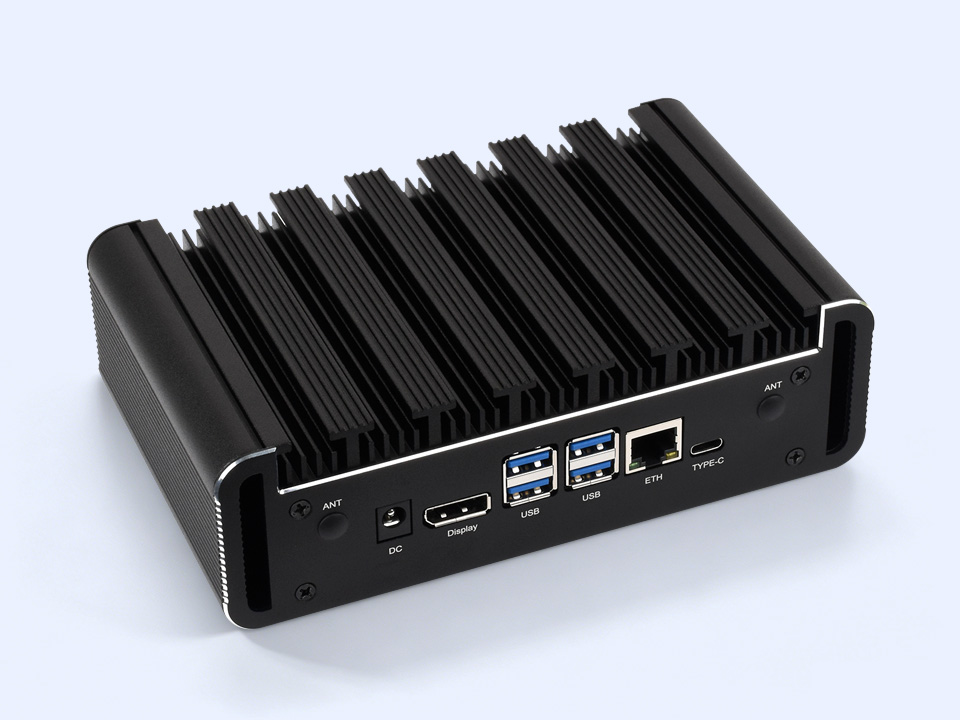
for reference only, please refer to the package content for detailed part list.
Passive Cooling
Designed for Jetson Orin NX / Nano with passive cooling
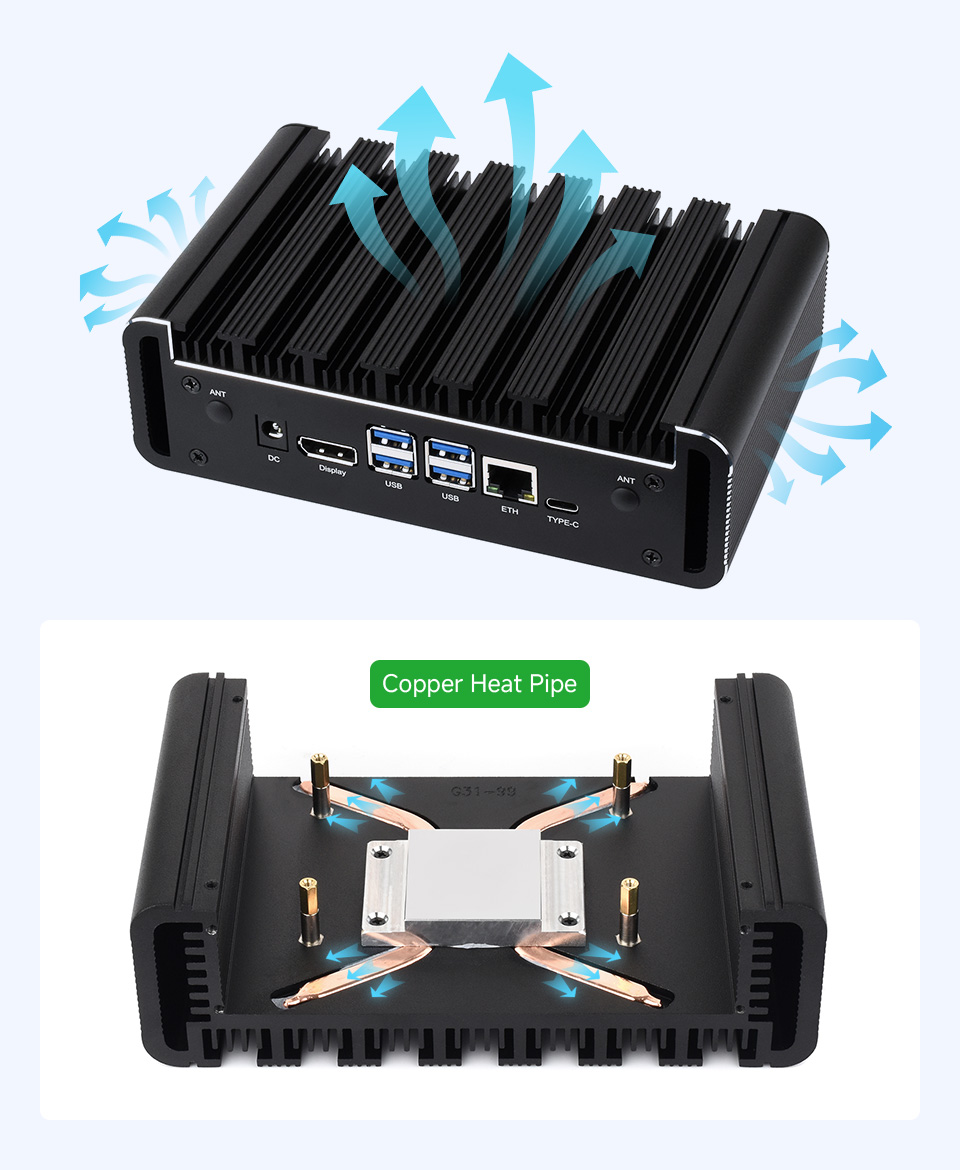
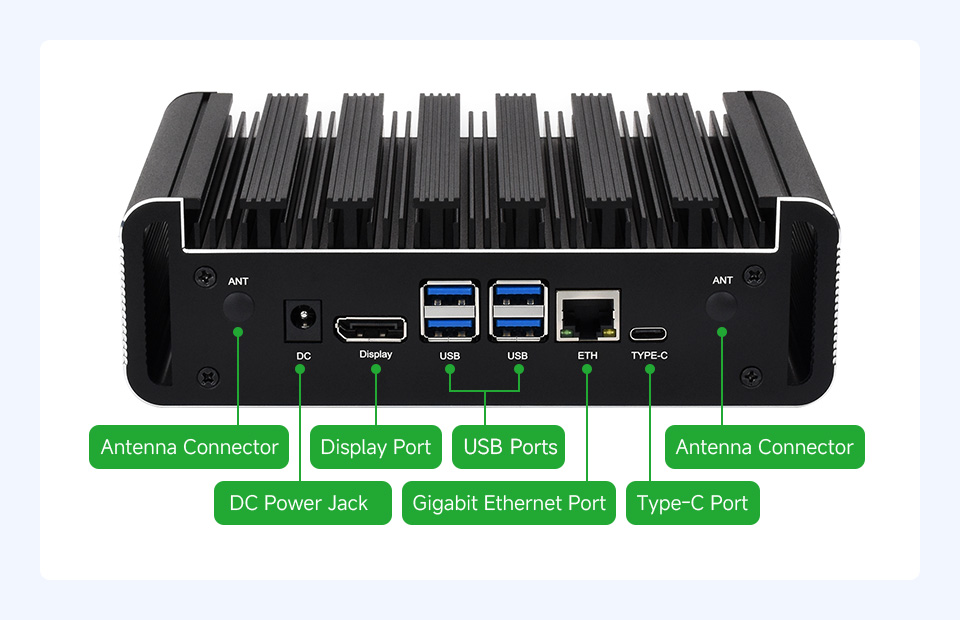
Precise Opening Design
Exquisite manufacturing process, Fitting & Nice Looking
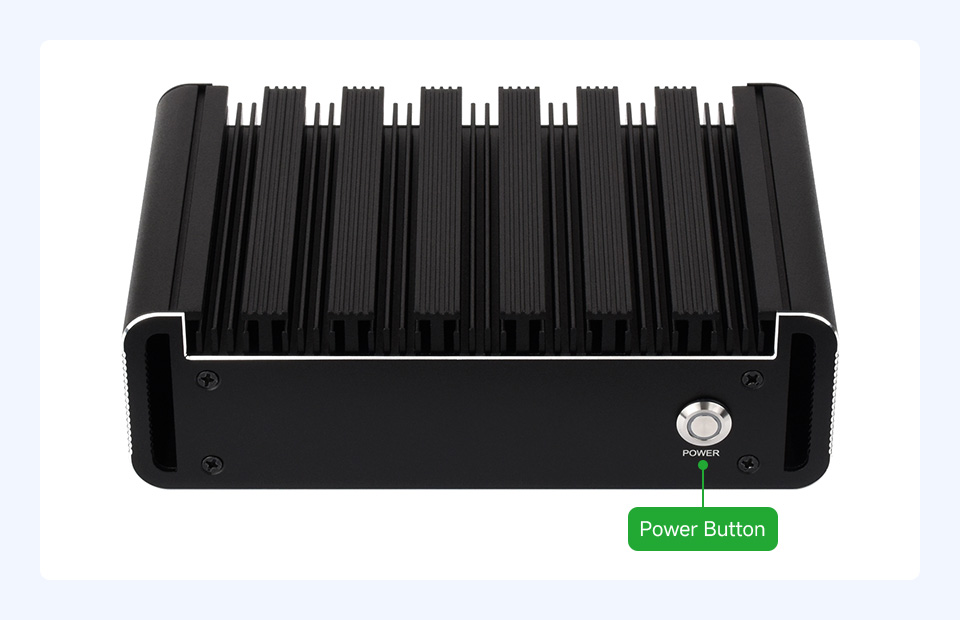
Onboard Power Button With Indicator
Reserved Rail-mount buckle mounting holes
Easy to install to specific scenarios
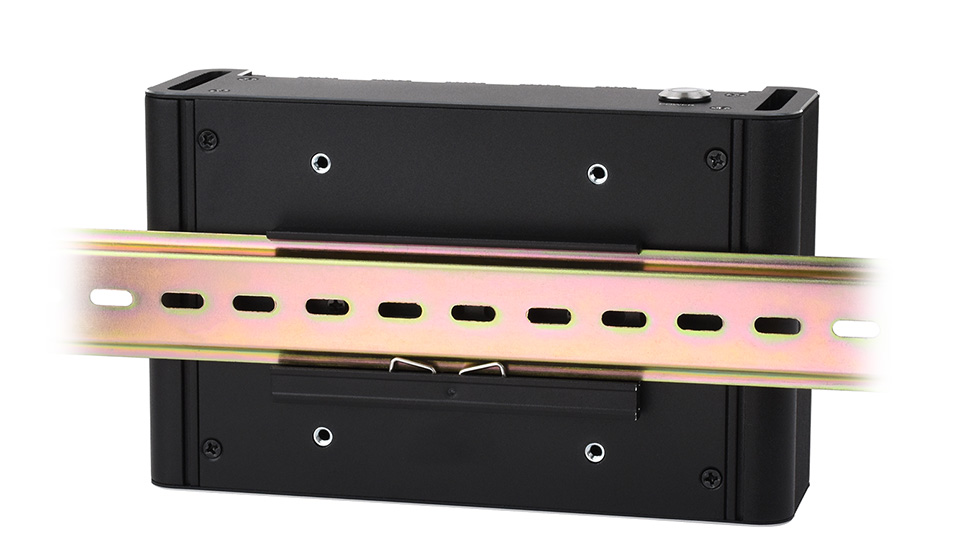
* for reference only, the DIN Rail is NOT included
How to install
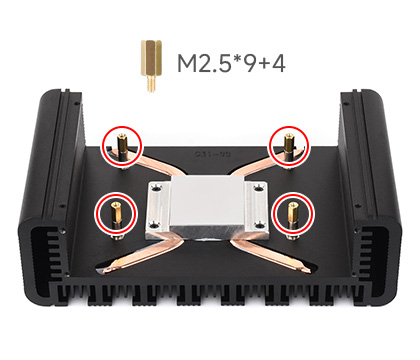
Step 1: Install the M2.5×9+4 standoffs at the positions shown below.
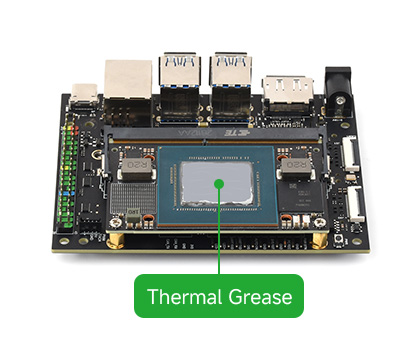
Step 2: Apply the included thermal grease evenly to the surface of the Jetson Orin module.
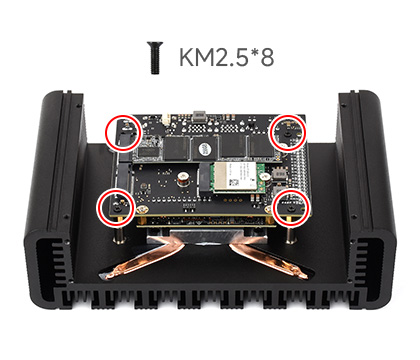
Step 3: Mount the Jetson Orin module onto the heatsink and secure it with the KM2.5×8 screws.
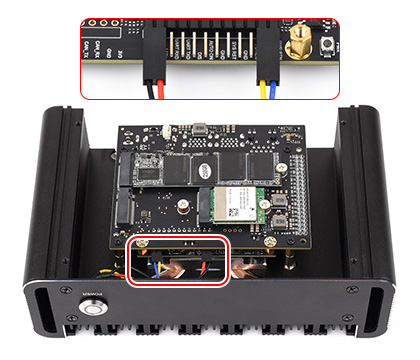
Step 4: Connect the 4PIN cable with the power button to the corresponding connector on the base board. Install the rear panel and secure it with screws.
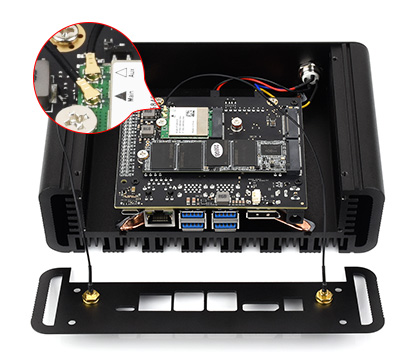
Step 5: Use the IPEX4 to SMA cable, connect the IPEX4 end to the wireless module, then secure the SMA connector to the front panel.
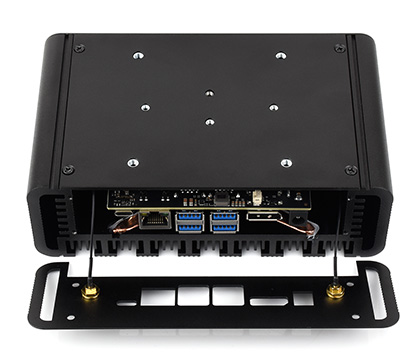
Step 6: Install the bottom cover and secure it with screws.
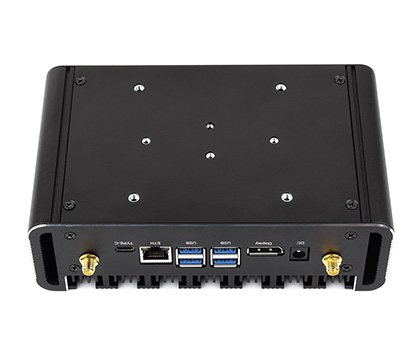
Step 7: Install the front cover and secure it with screws.
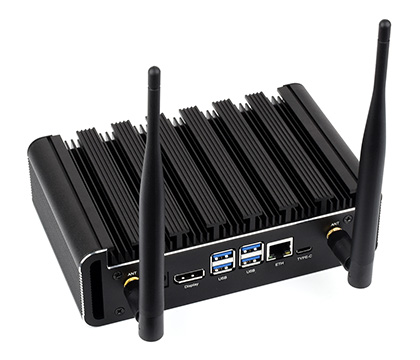
Step 8: Install the antennas on the SMA connectors to complete the assembly.
* for reference only, please refer to the package content for detailed part list
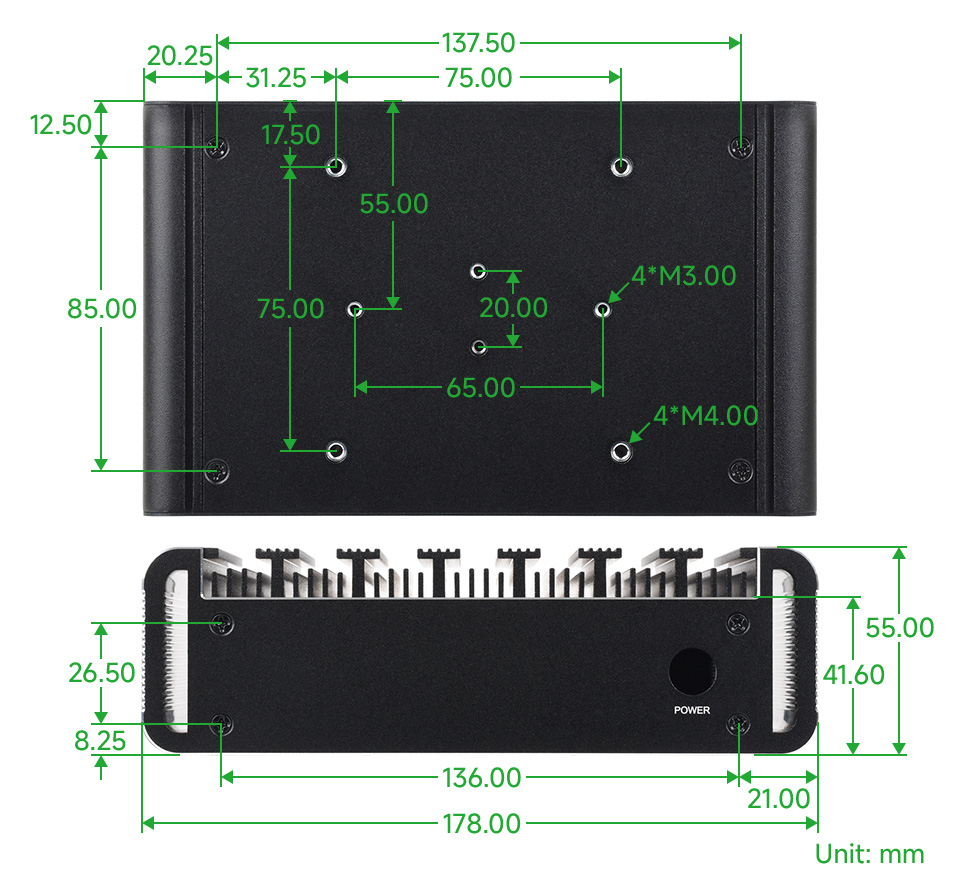
outline dimensions
Điện tử ProE cung cấp linh kiện điện tử, thiết bị điện tử , linh kiện IoT chính hãng. ProE cung cấp dịch vụ đặt hàng linh kiện điện tử, thiết bị điện tử chính hãng theo yêu cầu cụ thể của khách hàng. Liên hệ : contact@proe.vn, SĐT: 0938946849
Website: www.proe.vn
Diễn đàn: https://www.facebook.com/groups/278263459284765/
Youtube Chanel: ProE Youtube
Facebook: ProE Facebook


